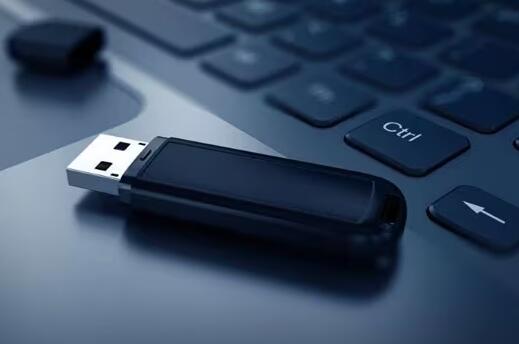
Formatting a USB drive to FAT32 can be done using various tools depending on your operating system and specific needs.
1. Using Windows File Explorer
File Explorer is a straightforward tool for formatting USB drives on Windows:
Insert the USB drive into your computer.
Open File Explorer by pressing Win + E or clicking the File Explorer icon on the taskbar.
Locate the USB drive in the list of drives and right-click it.
Select “Format…” from the context menu.
In the Format window, choose FAT32 from the File System dropdown menu.
Optionally, you can set a Volume Label and check or uncheck the Quick Format box.
Click Start to begin the formatting process. A warning will appear informing you that all data on the drive will be erased. Confirm to proceed.
Limitations: Windows File Explorer only allows formatting drives up to 32 GB in FAT32. For drives larger than 32 GB, you’ll need a different method.

2. Using Disk Management
Disk Management is a more advanced tool that offers more control:
Right-click on the Start menu and select Disk Management.
In the Disk Management window, locate your USB drive from the list of disks.
Right-click the partition on the USB drive and select Format….
Choose FAT32 as the File System.
Provide a Volume Label if desired and choose Quick Format or a full format.
Click OK to begin formatting.
Limitations: Similar to File Explorer, Disk Management cannot format volumes larger than 32 GB to FAT32.
3. Using Command Prompt
The Command Prompt offers a command-line approach:
Open Command Prompt with administrative privileges (search for cmd, right-click it, and choose Run as administrator).
Type the command diskpart and press Enter.
In the DiskPart prompt, type list disk and press Enter to list all disks.
Identify your USB drive from the list and type select disk X, replacing X with the number corresponding to your USB drive.
Type list volume to list all volumes and identify the volume associated with your USB drive.
Type select volume Y, replacing Y with the number of your USB volume.
Type format fs=fat32 and press Enter. This will format the volume to FAT32.
Limitations: Command Prompt does not bypass the 32 GB limit imposed by Windows utilities for FAT32 formatting.
4. Using Third-Party Tools
Several third-party tools can format drives larger than 32 GB to FAT32:
Rufus: Primarily used for creating bootable USB drives, Rufus can also format drives to FAT32. It handles drives larger than 32 GB, making it a popular choice.
Download and open Rufus.
Select your USB drive from the Device dropdown.
Choose FAT32 from the File System dropdown.
Click Start to format the drive.
GUIFormat: A simple utility designed to format large drives to FAT32.
Download and open GUIFormat (also known as FAT32Format).
Select your USB drive from the dropdown list.
Choose FAT32 as the file system and set the Allocation Unit Size.
Click Start to format the drive.
AOMEI Partition Assistant: This tool offers comprehensive partition management features.
Download and install AOMEI Partition Assistant.
Open the program and locate your USB drive.
Right-click the USB drive and select Format Partition.
Choose FAT32 as the file system and click OK.
Apply the changes by clicking Apply.
5. Using macOS Disk Utility
For Mac users, Disk Utility is the built-in tool:
Insert the USB drive into your Mac.
Open Disk Utility (found in Applications > Utilities).
Select the USB drive from the list on the left.
Click Erase at the top of the window.
In the Format dropdown, select MS-DOS (FAT), which is equivalent to FAT32.
Optionally, you can provide a Name for the drive.
Click Erase to begin the formatting process.
Limitations: Disk Utility formats drives up to 2 TB in FAT32.
6. Using Linux Command Line
Linux users can use mkfs to format USB drives:
Open a terminal window.
Use the lsblk or fdisk -l command to identify your USB drive.
Use sudo mkfs.vfat -F 32 /dev/sdX1. replacing /dev/sdX1 with the correct device identifier for your USB drive.
Limitations: Ensure you correctly identify the USB drive to avoid formatting the wrong device.
Choosing the right tool depends on your operating system and the size of the USB drive. For drives up to 32 GB, Windows File Explorer or Disk Management are convenient. For larger drives, third-party tools like Rufus or GUIFormat offer extended functionality. Mac and Linux users have their respective tools for FAT32 formatting.
About us and this blog
Panda Assistant is built on the latest data recovery algorithms, ensuring that no file is too damaged, too lost, or too corrupted to be recovered.
Request a free quote
We believe that data recovery shouldn’t be a daunting task. That’s why we’ve designed Panda Assistant to be as easy to use as it is powerful. With a few clicks, you can initiate a scan, preview recoverable files, and restore your data all within a matter of minutes.
Subscribe to our newsletter!
More from our blog
See all postsRecent Posts
- Data recovery salt lake city utah 2025-04-18
- Data recovery sacramento 2025-04-18
- Data recovery miami 2025-04-18

 Try lt Free
 Recovery success rate of up to


