 Try lt Free
 Recovery success rate of up to
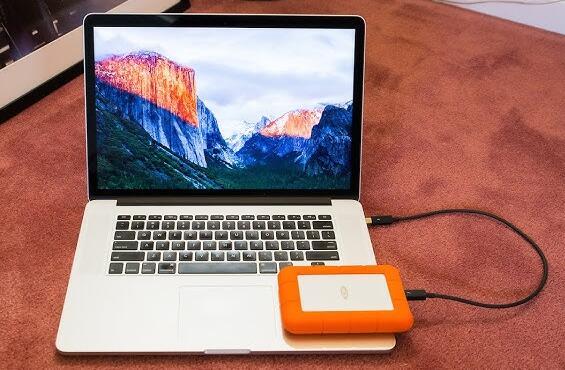
External hard drives are essential tools for data storage, backup, and transfer. However, you may occasionally encounter the frustrating issue of an external hard drive refusing to eject.
1. Understanding the Issue
Before troubleshooting, it’s important to understand why your external hard drive may not eject:
Active Processes: Files may still be open or processes may be running that are using the drive.
Operating System Glitches: Sometimes, the operating system may misinterpret the drive’s state.
Hardware Issues: Problems with the USB port, cables, or the drive itself could prevent ejection.
Power Settings: Certain power settings may affect the ability to safely eject external devices.
2. Initial Checks
2.1. Close All Applications
Check Open Files: Ensure no files or applications from the external hard drive are open.
Close Software: Manually close any applications that might be using the drive, such as media players or document editors.
2.2. Use Task Manager (Windows) or Activity Monitor (Mac)
For Windows:
Open Task Manager: Press Ctrl + Shift + Esc.
Check Processes: Look for applications that may be using the drive under the “Processes” tab.
End Task: If you find any, right-click and select “End Task”.
For Mac:
Open Activity Monitor: Find it in Applications > Utilities.
Locate Processes: Look for any processes related to your external hard drive.
Force Quit: Select the process and click the “X” to force quit.
3. Safely Eject the Drive
After ensuring that no processes are using the drive, attempt to safely eject it again.
3.1. Windows Eject Method
Right-click on the Drive: Open “This PC” or “My Computer”.
Select Eject: Right-click the external hard drive and choose “Eject”.
3.2. Mac Eject Method
Finder Sidebar: Locate your external hard drive in the Finder sidebar.
Eject Button: Click the eject button next to the drive name.
4. Use Windows Disk Management (Windows Only)
If the drive still won’t eject:
Open Disk Management: Right-click the Start menu and select “Disk Management”.
Locate Your Drive: Find your external hard drive in the list.
Unmount the Drive: Right-click on it and select “Eject”.
5. Command Line Options
5.1. Using Command Prompt (Windows)
Open Command Prompt: Search for cmd in the Start menu, right-click, and select “Run as administrator”.
Type the Command: Enter diskpart and press Enter.
List Disks: Type list volume and press Enter.
Select Volume: Identify your external drive and type select volume X (replace X with your drive number).
Remove Drive: Type remove and press Enter.
5.2. Using Terminal (Mac)
Open Terminal: Go to Applications > Utilities > Terminal.
Type the Command: Enter diskutil unmount /Volumes/YourDriveName (replace “YourDriveName” with the name of your external drive).
Press Enter: This should safely unmount the drive.
6. Check for Hardware Issues
6.1. Inspect Cables and Ports
Check USB Cable: Ensure the cable is not damaged. Try using a different USB cable.
Test USB Port: Plug the drive into a different USB port or try it on another computer.
6.2. Power Supply (for Powered Drives)
If your external hard drive requires a separate power source, ensure it’s connected properly and receiving power.
7. Use the Device Manager (Windows Only)
Open Device Manager: Right-click on the Start menu and select “Device Manager”.
Locate Disk Drives: Expand the “Disk drives” section.
Update Driver: Right-click on your external hard drive and select “Update driver”.
8. Restart the Computer
Sometimes, a simple restart can resolve software glitches that may prevent the ejection of the drive.
9. Force Eject the Drive
If all else fails, you can force eject the drive, but be aware that this can risk data loss:
9.1. Windows Method
Open Command Prompt as Administrator.
Type shutdown /r /f: This forces all applications to close and restarts the computer.
9.2. Mac Method
Open Terminal.
Type sudo umount /Volumes/YourDriveName: This will force unmount the drive.
10. Data Recovery Considerations
If you force eject the drive, you may risk data corruption. If you suspect data loss, consider using data recovery software or services.
11. Preventive Measures
11.1. Safe Eject Practices
Always use the safe eject feature to minimize the risk of data corruption.
11.2. Regular Backups
Make regular backups of important files to avoid data loss in case of hardware failure.
11.3. Check for Malware
Run regular malware scans to prevent infections that can affect drive functionality.
Experiencing issues with your external hard drive not ejecting can be frustrating, but following these steps can help you resolve the problem safely. By understanding the reasons behind the issue and taking appropriate measures, you can maintain the integrity of your data and ensure a smooth experience with your external storage devices.
About us and this blog
Panda Assistant is built on the latest data recovery algorithms, ensuring that no file is too damaged, too lost, or too corrupted to be recovered.
Request a free quote
We believe that data recovery shouldn’t be a daunting task. That’s why we’ve designed Panda Assistant to be as easy to use as it is powerful. With a few clicks, you can initiate a scan, preview recoverable files, and restore your data all within a matter of minutes.
Subscribe to our newsletter!
More from our blog
See all posts


Recent Posts
- Data recovery salt lake city utah 2025-04-18
- Data recovery sacramento 2025-04-18
- Data recovery miami 2025-04-18