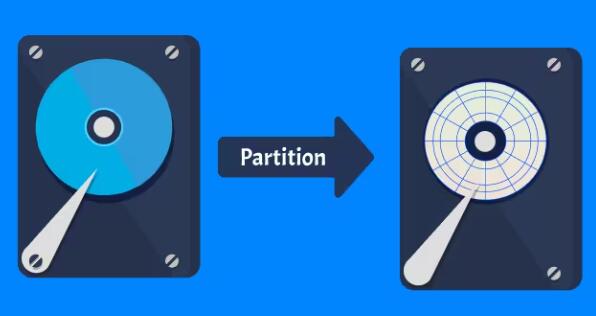
Partitioning a hard drive is an essential task for optimizing storage management, improving performance, and organizing data efficiently. There are two primary methods for partitioning hard drives: using Partition Management Software and utilizing Built-in Operating System Tools.
Method 1: Using Partition Management Software
Partition management software provides a user-friendly interface and advanced functionalities that enable users to manage their hard drives effectively. Here are some popular partition management tools:
MiniTool Partition Wizard
AOMEI Partition Assistant
Features of Partition Management Software
User-Friendly Interface: Most software tools have intuitive graphical user interfaces, making it easier for users to visualize and manage partitions.

Advanced Options: Many tools offer features like resizing partitions without data loss, merging partitions, and converting file systems (e.g., from NTFS to FAT32).
Backup and Recovery: Some partition managers include options for creating backups and recovering lost partitions.
Disk Cloning: Many tools allow users to clone entire disks or partitions for migration or backup purposes.
Support for Various File Systems: These tools often support a wide range of file systems, accommodating different operating systems and devices.
Step-by-Step Guide to Partitioning Using Software
Download and Install the Software:
Choose a reputable partition management tool and install it on your computer.
Launch the Application:
Open the software. You’ll see a list of your hard drives and their current partitions.
Select the Hard Drive:
Click on the hard drive you want to partition. Ensure you select the correct drive to avoid data loss.
Create a New Partition:
Right-click on the unallocated space (or existing partition) and select “Create Partition.”
Specify the size, file system, and partition label.
Click “OK” to confirm.
Resize Existing Partitions:
To resize a partition, right-click on the partition you want to adjust and select “Resize/Move.”
Drag the slider to increase or decrease the size, then click “OK.”
Apply Changes:
After making changes, click the “Apply” button to execute the operations. Some tools may require a restart to complete the process.
Verify Partition Changes:
After the software finishes, check your drive to ensure that the new partition appears correctly.
Advantages of Using Partition Management Software
Flexibility: These tools often provide more options and flexibility than built-in tools.
Ease of Use: Many users find graphical interfaces easier to navigate than command-line tools or basic OS utilities.
Data Safety: Many programs include options to back up data before making changes, reducing the risk of data loss.
Considerations
Cost: While many partition managers have free versions, advanced features may require purchasing a license.
Compatibility: Ensure the software is compatible with your operating system and file system.
User Knowledge: Users should familiarize themselves with the software to avoid accidental data loss.
Method 2: Using Built-in Operating System Tools
Both Windows and macOS offer built-in tools for partitioning hard drives. These tools may not be as advanced as third-party software but are often sufficient for basic tasks.
Windows: Disk Management Tool
Windows provides the Disk Management tool, which allows users to create, delete, format, and resize partitions.
Step-by-Step Guide to Partitioning in Windows
Access Disk Management:
Right-click on “This PC” or “My Computer” and select “Manage.” Then click on “Disk Management” in the left pane.
View Current Partitions:
The Disk Management window displays all connected disks and their partitions.
Create a New Partition:
Right-click on unallocated space and select “New Simple Volume.”
Follow the wizard to set the volume size, drive letter, and file system format.
Resize Existing Partitions:
Right-click on the partition you wish to resize and select “Shrink Volume.”
Enter the amount to shrink and click “Shrink.”
Format a Partition:
Right-click on the partition you want to format and select “Format.”
Choose the file system and allocation unit size, then click “OK.”
Apply Changes:
Changes in Disk Management are applied immediately after confirmation.
Advantages of Disk Management
No Additional Software Needed: Built-in tools are readily available and do not require installation.
Basic Functionality: Suitable for users who need simple partitioning tasks without advanced features.
Considerations
Limited Features: Built-in tools lack some advanced features found in third-party software.
Data Loss Risk: Incorrectly resizing or deleting partitions may lead to data loss. It’s crucial to back up important data before making changes.
macOS: Disk Utility
macOS users can utilize Disk Utility for managing partitions.
Step-by-Step Guide to Partitioning in macOS
Open Disk Utility:
Go to “Applications,” then “Utilities,” and select “Disk Utility.”
Select the Disk:
In the left sidebar, choose the disk you want to partition.
Partition the Disk:
Click on the “Partition” button in the toolbar.
Use the pie chart to add or resize partitions. You can adjust the size by dragging the partition boundaries.
Format New Partitions:
Specify the format for the new partition (e.g., APFS, HFS+, FAT32) and name it.
Apply Changes:
Click “Apply” to confirm and execute the partitioning.
Advantages of Disk Utility
Integrated Tool: Like Windows, macOS provides an integrated tool that is easily accessible.
User-Friendly Interface: The graphical interface simplifies the partitioning process.
Considerations
Less Advanced Options: Disk Utility may lack some advanced features present in third-party applications.
Backup Necessity: Always back up important files before making significant changes.
About us and this blog
Panda Assistant is built on the latest data recovery algorithms, ensuring that no file is too damaged, too lost, or too corrupted to be recovered.
Request a free quote
We believe that data recovery shouldn’t be a daunting task. That’s why we’ve designed Panda Assistant to be as easy to use as it is powerful. With a few clicks, you can initiate a scan, preview recoverable files, and restore your data all within a matter of minutes.

 Try lt Free
 Recovery success rate of up to


