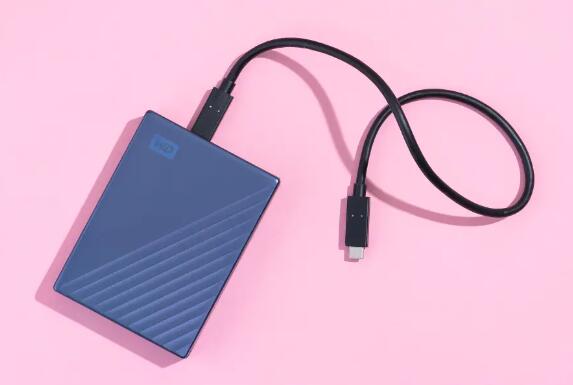
Opening a Western Digital (WD) external hard drive can be necessary for various reasons, such as troubleshooting, upgrading, or data recovery.
Tools Required
Before beginning, gather the following tools:
Screwdrivers: A Phillips and flat-head screwdriver.
Plastic Prying Tools: To help avoid scratches and damage to the casing.
Anti-Static Wrist Strap: To prevent electrostatic discharge (ESD) that could harm the drive.
Preparing the Workspace
Create a clean, organized, and static-free environment:
Choose a flat surface free of dust and clutter.
Use an anti-static mat if available.
Keep your tools within reach and organized to streamline the process.

Powering Down the Device
Safety is paramount:
Unplug the Drive: Disconnect all cables, including power and data connections.
Wait: Allow a few minutes for any residual power to dissipate.
Removing the Outer Case
The first step is to access the casing:
Identify Screws or Clips: Check the bottom and sides for screws. Some models may have clips instead.
Remove Screws: Use the Phillips screwdriver to unscrew any visible screws.
Pry Open the Case: Carefully insert a plastic prying tool into the seams of the case. Gently work your way around to release any clips.
Accessing the Internal Components
With the case removed, locate the internal hard drive:
Find the Hard Drive: It will typically be mounted securely within the casing.
Disconnect Cables: Gently unplug any SATA or power cables connected to the hard drive. Be careful not to pull on the wires directly.
Remove the Hard Drive: Unscrew any screws holding the drive in place and gently slide it out.
Extracting the Hard Drive
Now that you have access to the hard drive:
Handle with Care: Always hold the drive by its edges to avoid touching the circuit board.
Assess the Drive: Check for any physical damage before proceeding to data recovery or upgrades.
Reassembling the Device
Once your tasks are complete, it’s time to put everything back:
Reinsert the Hard Drive: Place it back into its mounting, securing any screws.
Reconnect Cables: Reattach the SATA and power cables to the drive.
Close the Case: Snap the outer casing back together, ensuring all clips or screws are securely fastened.
Testing the Drive Post-Assembly
To confirm everything is functioning:
Reconnect to Power: Plug the drive back into your computer and power it on.
Check Recognition: Ensure the drive is recognized by your operating system. If not, double-check connections and reassemble if necessary.
Opening a Western Digital external hard drive can be straightforward if done carefully and methodically. Always remember to work in a static-free environment and handle components delicately. By following this guide, you can safely access your drive for troubleshooting, upgrades, or recovery, ensuring that your data remains intact.
About us and this blog
Panda Assistant is built on the latest data recovery algorithms, ensuring that no file is too damaged, too lost, or too corrupted to be recovered.
Request a free quote
We believe that data recovery shouldn’t be a daunting task. That’s why we’ve designed Panda Assistant to be as easy to use as it is powerful. With a few clicks, you can initiate a scan, preview recoverable files, and restore your data all within a matter of minutes.

 Try lt Free
 Recovery success rate of up to


