Formatting a new SD card for a Nikon camera is a relatively straightforward process, but it’s important to ensure it’s done correctly to avoid data loss and to ensure optimal performance of your camera.
Formatting the SD Card in Nikon Cameras
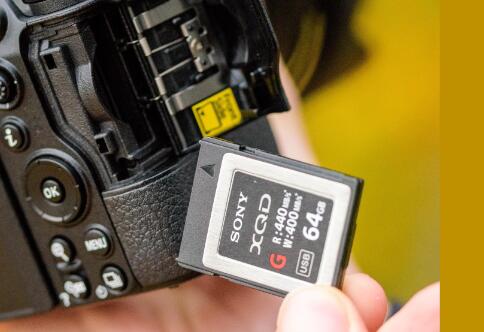
Insert the SD Card into the Camera
First, make sure your Nikon camera is turned off. Locate the SD card slot on your camera. It is usually on the side or bottom of the camera body. Open the SD card slot cover gently.
Take the new SD card and insert it into the slot carefully, making sure it is inserted in the correct orientation. The SD card should fit snugly into the slot. Close the SD card slot cover.
Turn on the Camera and Access the Menu
Turn on your Nikon camera. Navigate to the main menu. The way to access the menu may vary depending on the model of your Nikon camera, but generally, there is a “Menu” button on the camera body. Press this button to bring up the menu.
Locate the Format Option
In the menu, look for the “Setup” or “Settings” menu. This is where you will find options related to the camera’s basic settings and operations.
Within the “Setup” or “Settings” menu, scroll down or search for the “Format” option. It may be labeled as “Format Memory Card” or something similar.
Select the SD Card to Format
If your Nikon camera supports multiple memory card slots or has internal memory in addition to the SD card, you will need to select the SD card that you want to format. Make sure to choose the correct card to avoid accidentally formatting the wrong one.
Confirm the Formatting
Once you have selected the SD card and are ready to format it, the camera will usually display a confirmation message asking if you are sure you want to format the card. This is a crucial step as formatting will erase all data on the SD card.
If you are certain that you want to proceed, select “Yes” or “OK” to confirm the formatting. The camera will then begin the formatting process.
Wait for the Formatting to Complete
The formatting process may take a few seconds to a few minutes, depending on the size and speed of the SD card. Do not turn off the camera or remove the SD card during this process, as it can cause errors and may damage the SD card.
Once the formatting is complete, the camera will usually display a message indicating that the formatting was successful. You can then exit the menu and start using the SD card with your camera.
Precautions and Considerations
Backup Your Data: Before formatting an SD card, always make sure to backup any important data on it to your computer or other storage devices. Formatting will completely erase all data on the card, including photos, videos, and any other files.
Use the Camera’s Format Function: It is recommended to use the camera’s built-in format function rather than formatting the SD card on a computer. The camera’s formatting process is specifically designed to optimize the SD card for use with the camera and ensure compatibility.
Choose the Right File System: Most Nikon cameras use the FAT32 file system for SD cards. Some newer cameras may also support exFAT. Make sure to check your camera’s manual to see which file systems are supported and choose the appropriate one when formatting the SD card.
Check for SD Card Compatibility: Ensure that the SD card you are using is compatible with your Nikon camera. Different camera models may support different types of SD cards, such as SDHC (Secure Digital High Capacity) or SDXC (Secure Digital Extended Capacity). Check the camera’s specifications to make sure you have the right card.
Format Regularly: It is a good practice to format your SD card regularly, especially if you notice any performance issues or if the card has been used in multiple devices. Regular formatting can help keep the card in good condition and prevent data errors.
Handle the SD Card with Care: When inserting or removing the SD card from the camera, make sure to handle it gently and avoid touching the metal contacts. Static electricity and physical damage to the card can cause problems.
Troubleshooting
Formatting Errors: If you encounter an error during the formatting process, first try turning off the camera, removing the SD card, and then reinserting it and trying again. If the problem persists, the SD card may be damaged. You can try formatting the card on a computer using a card reader, but if it still doesn’t work, you may need to replace the SD card.
SD Card Not Recognized: If the camera does not recognize the SD card after formatting, make sure the card is inserted correctly and is compatible with the camera. Try cleaning the SD card contacts and the camera’s card slot with a soft, dry cloth. If the issue continues, there may be a problem with the camera’s card reader or the SD card itself.
About us and this blog
Panda Assistant is built on the latest data recovery algorithms, ensuring that no file is too damaged, too lost, or too corrupted to be recovered.
Request a free quote
We believe that data recovery shouldn’t be a daunting task. That’s why we’ve designed Panda Assistant to be as easy to use as it is powerful. With a few clicks, you can initiate a scan, preview recoverable files, and restore your data all within a matter of minutes.
Subscribe to our newsletter!
More from our blog
See all posts


Recent Posts
- Recover partition data from file path 2025-02-19
- How to recover deleted photos from years ago? 2025-02-19
- How to get your deleted photos back? 2025-02-19