To format a flash drive to accept large files, follow these steps:
1. Choose the Right File System
The ability to store large files depends on the file system of the flash drive. Here are common file systems and their limitations:
FAT32: Supports files up to 4 GB. Ideal for smaller drives or compatibility with older devices, but cannot handle files larger than 4 GB.
exFAT: Supports files larger than 4 GB and is compatible with both Windows and macOS. It’s a good choice for flash drives.
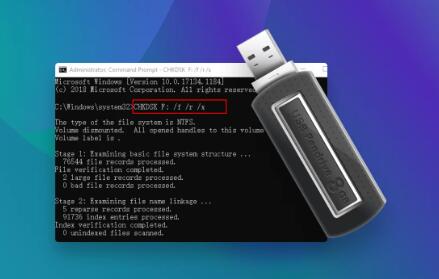
NTFS: Supports very large files and is compatible with Windows. Not as universally supported on macOS without additional software.
2. Backup Your Data
Formatting will erase all data on the flash drive. Ensure you back up any important files before proceeding.
3. Format the Flash Drive
On Windows:
Insert the Flash Drive: Plug your flash drive into a USB port on your computer.
Open File Explorer: Click on the folder icon or press Windows + E.
Locate the Flash Drive: Find your flash drive under “This PC” or “Computer.”
Right-Click and Choose Format: Right-click on the flash drive and select “Format” from the context menu.
Choose File System: In the Format dialog, select exFAT or NTFS from the “File system” dropdown menu.
Start Formatting: Click “Start” to begin formatting. You may see a warning that all data will be erased. Confirm to proceed.
On macOS:
Insert the Flash Drive: Plug your flash drive into a USB port on your Mac.
Open Disk Utility: You can find Disk Utility by searching in Spotlight (Cmd + Space) or in the Applications > Utilities folder.
Select the Flash Drive: Click on the flash drive in the list of drives on the left.
Erase the Drive: Click the “Erase” button at the top of the Disk Utility window.
Choose Format: In the “Format” dropdown menu, select exFAT (for compatibility with both Windows and macOS) or Mac OS Extended (Journaled) (for use with macOS only).
Confirm and Erase: Click “Erase” to format the drive. Confirm when prompted.
4. Check the Format
After formatting, verify the format of the drive:
Windows: Right-click the drive in File Explorer, select “Properties,” and check the “File system” listed.
macOS: Open Disk Utility, select the drive, and check the information provided.
5. Transfer Large Files
You should now be able to transfer files larger than 4 GB to the flash drive.
By formatting your flash drive with the right file system, you can ensure that it supports large files and is compatible with your needs.
About us and this blog
Panda Assistant is built on the latest data recovery algorithms, ensuring that no file is too damaged, too lost, or too corrupted to be recovered.
Request a free quote
We believe that data recovery shouldn’t be a daunting task. That’s why we’ve designed Panda Assistant to be as easy to use as it is powerful. With a few clicks, you can initiate a scan, preview recoverable files, and restore your data all within a matter of minutes.
Subscribe to our newsletter!
More from our blog
See all posts


Recent Posts
- Can not open jgp files learnosity 2025-02-24
- Klipper unable to open file 2025-02-24
- File format or file extension is not valid 2025-02-24