 Try lt Free
 Recovery success rate of up to
1. Introduction
USB flash drives are essential for transferring data, but sometimes they can become unreadable on your Mac. This issue can stem from various causes, including hardware failure, file system corruption, or software problems. This guide provides a detailed approach to diagnosing and fixing an unreadable USB flash drive on macOS.
2. Preliminary Checks
Before diving into technical solutions, perform these basic checks:
Test the USB Drive on Another Computer: Connect the USB flash drive to another computer to determine if the issue is specific to your Mac or the drive itself.
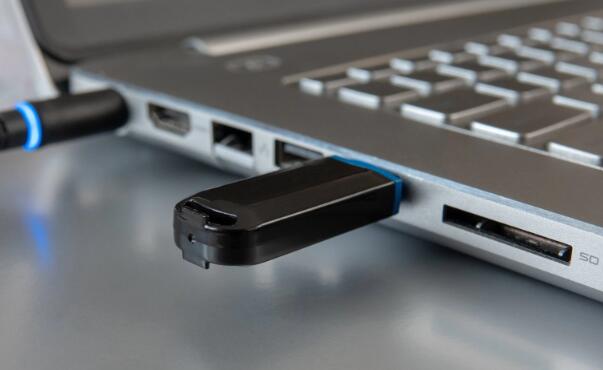
Try Different USB Ports: Sometimes, the problem may lie with the USB port. Test the drive in different ports on your Mac.
Inspect the Drive Physically: Check for any visible damage to the USB drive or its connectors.
3. Check System Preferences
Ensure that your Mac’s USB ports and settings are functioning correctly:
Open System Information: Click on the Apple menu, select “About This Mac,” then “System Report.” Under “Hardware,” select “USB” to see if your Mac recognizes the USB drive.
Check Disk Utility: Open Disk Utility (Applications > Utilities > Disk Utility). If the drive appears but is not mounted, try to mount it manually.
4. Disk Utility
Disk Utility is a powerful tool for managing disks and volumes on macOS. Here’s how to use it:
Open Disk Utility: Go to Applications > Utilities > Disk Utility.
Select the USB Drive: Find your USB drive in the list of devices on the left.
Run First Aid: Click on the “First Aid” button to check and repair the disk. Disk Utility will attempt to fix any errors it finds.
5. Reset NVRAM/PRAM
Sometimes, resetting the NVRAM (Non-Volatile RAM) or PRAM (Parameter RAM) can resolve hardware recognition issues:
Turn Off Your Mac.
Turn It On and Immediately Press and Hold: Option (⌥), Command (⌘), P, and R keys simultaneously.
Hold the Keys for About 20 Seconds: Your Mac will restart with default settings.
6. Use Terminal Commands
For more advanced troubleshooting, you can use Terminal commands:
Open Terminal: Go to Applications > Utilities > Terminal.
List All Disks: Type diskutil list and press Enter. This will show all connected drives, including the USB flash drive.
Unmount the Drive: If the drive is listed but not mounted, use diskutil unmount /dev/diskX (replace diskX with the correct identifier).
Repair the Drive: If unmounting is successful, try running diskutil repairDisk /dev/diskX.
7. Check File System Format
Incompatibilities with file system formats can also cause issues:
Determine the Format: In Disk Utility, select the USB drive and check the format (e.g., FAT32. NTFS, APFS).
Reformat the Drive: If the format is not compatible with macOS, you may need to reformat it. Be aware that this will erase all data on the drive:
Backup Data: If possible, back up any important data before reformatting.
Reformat: In Disk Utility, select the drive and click “Erase.” Choose a format compatible with macOS, such as Mac OS Extended (Journaled) or exFAT.
8. Software Conflicts
Software conflicts or malware could affect drive accessibility:
Check for Updates: Ensure your macOS and any security software are up to date.
Scan for Malware: Use reputable antivirus software to scan your system for malware that might affect drive performance.
9. Data Recovery
If the USB drive is still not readable and contains important data, consider data recovery options:
Use Data Recovery Software: There are several data recovery tools available for macOS, such as Disk Drill, Data Rescue, or EaseUS Data Recovery Wizard. These tools can help recover files from a damaged or unreadable drive.
Professional Data Recovery Services: For severely damaged drives or complex recovery needs, consider contacting a professional data recovery service. They have specialized equipment and expertise to recover data from damaged drives.
10. Prevention and Maintenance
To minimize the risk of future issues:
Eject Drives Properly: Always eject USB drives properly before unplugging them.
Avoid Physical Damage: Handle drives carefully and avoid exposing them to extreme temperatures or magnetic fields.
Backup Regularly: Regularly back up your important data to multiple locations to prevent data loss.
About us and this blog
Panda Assistant is built on the latest data recovery algorithms, ensuring that no file is too damaged, too lost, or too corrupted to be recovered.
Request a free quote
We believe that data recovery shouldn’t be a daunting task. That’s why we’ve designed Panda Assistant to be as easy to use as it is powerful. With a few clicks, you can initiate a scan, preview recoverable files, and restore your data all within a matter of minutes.
Subscribe to our newsletter!
More from our blog
See all posts


Recent Posts
- Accidentally deleted a folder in outlook 2025-04-29
- No recently deleted folder in notes 2025-04-29
- Corrupted folder with data won’t delete 2025-04-29