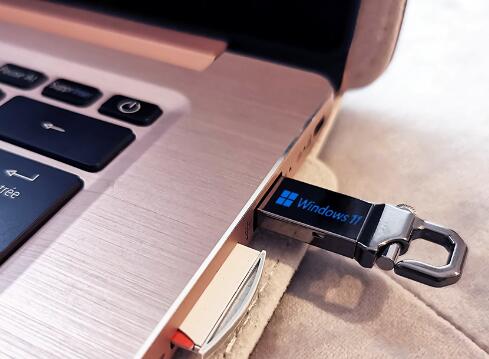
For Asus ZenBook users running Windows 11. creating a recovery USB can be a lifesaver.
Why You Need a Recovery USB
A recovery USB serves several important functions:
System Recovery: It allows you to restore your system to a previous state, helping you recover from crashes or software issues.
Troubleshooting: If your ZenBook fails to boot, a recovery USB can provide tools to diagnose and fix problems.

Fresh Installation: You can use it to perform a clean installation of Windows 11 if necessary.
Preparing to Create a Recovery USB
Before you start, gather the following:
A USB drive (minimum 8 GB recommended)
An Asus ZenBook with Windows 11 installed
An internet connection (for downloading updates and drivers)
A backup of your important data (in case anything goes wrong)
Step 1: Check for System Updates
Click on the Start menu and go to Settings.
Navigate to Windows Update.
Check for updates and install any pending updates to ensure your system is up-to-date.
Step 2: Backup Your Data
It’s essential to back up your important files to avoid data loss during the recovery process. Use an external hard drive or cloud storage to save your data.
Creating the Recovery USB
Step 1: Open the Recovery Media Creator
Type Create a recovery drive in the Windows search bar and select it from the results.
If prompted, allow the app to make changes to your device.
Step 2: Select USB Drive
In the Recovery Drive wizard, ensure the option Back up system files to the recovery drive is checked.
Click Next.
Choose your USB drive from the list and click Next.
Step 3: Create the Recovery Drive
A warning message will appear, informing you that all data on the USB drive will be deleted. Ensure you’ve backed up any important files from the USB drive.
Click Create to start the process.
Wait for the creation process to complete. This may take some time depending on your system and USB speed.
Step 4: Finish the Process
Once the recovery drive is created, click Finish.
Safely eject the USB drive from your ZenBook.
Using the Recovery USB
Booting from the Recovery USB
Insert the recovery USB into your Asus ZenBook.
Restart the laptop and press the F2 key (or the appropriate key for your model) repeatedly to enter the BIOS setup.
Navigate to the Boot tab using the arrow keys.
Change the boot order to prioritize the USB drive.
Save changes and exit the BIOS.
Accessing Recovery Options
Your ZenBook will boot from the recovery USB.
You will see the Windows Setup screen. Select your language and keyboard preferences, then click Next.
On the next screen, click on Repair your computer.
Choosing Recovery Options
Select Troubleshoot to access various recovery options:
Reset this PC: Choose to keep or remove personal files while reinstalling Windows.
System Restore: Restore your system to a previous restore point.
Startup Repair: Fix problems that prevent Windows from starting.
Command Prompt: Access advanced tools for troubleshooting.
Troubleshooting Common Issues
USB Drive Not Recognized
Solution: Ensure the USB drive is properly inserted and check if it’s functioning on another device. Try a different USB port if necessary.
Unable to Boot from USB
Solution: Revisit the BIOS settings to confirm the boot order is correctly set. Ensure secure boot options are disabled if needed.
Recovery Drive Not Working
Solution: Recreate the recovery USB using a different USB drive, as the original drive may be corrupted.
Creating a recovery USB for your Asus ZenBook running Windows 11 is an essential step in safeguarding your data and ensuring you can recover your system when needed. By following the steps outlined in this guide, you can create a reliable recovery tool that will help you navigate potential issues with ease. Always remember to back up your important data regularly and keep your recovery USB up-to-date.
About us and this blog
Panda Assistant is built on the latest data recovery algorithms, ensuring that no file is too damaged, too lost, or too corrupted to be recovered.
Request a free quote
We believe that data recovery shouldn’t be a daunting task. That’s why we’ve designed Panda Assistant to be as easy to use as it is powerful. With a few clicks, you can initiate a scan, preview recoverable files, and restore your data all within a matter of minutes.
Subscribe to our newsletter!
More from our blog
See all postsRecent Posts
- Hard drive recovery denver reddit 2025-02-28
- How to recover a deleted slide in powerpoint? 2025-02-27
- How to recover deleted capcut videos? 2025-02-27


