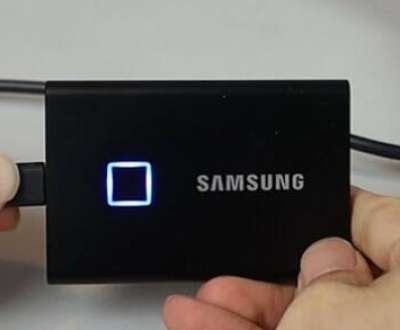
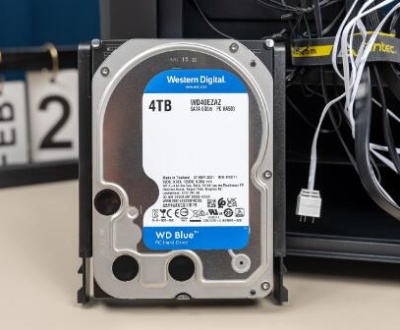
Wiping a Seagate external hard drive goes beyond simple reformatting. It’s the process of securely erasing all data to ensure nothing can be recovered. Whether you’re selling the drive, recycling it, or eliminating sensitive data, wiping ensures your information stays private.
Part 1: What It Means to Wipe a Hard Drive
Wipe vs. Format
Formatting removes file structure, but data can often be recovered with recovery tools.
Wiping overwrites existing data with random or zeroed-out data, making recovery nearly impossible.

When Should You Wipe Your Drive?
Before selling, donating, or recycling the drive
When removing sensitive personal or corporate data
If your drive has been infected with malware
To start fresh with no traces of old partitions or files
Part 2: Preparation
Step 1: Back Up Important Data
Move critical files to another device or cloud storage.
Double-check that nothing valuable is left.
Step 2: Identify the Correct Drive
On Windows, open File Explorer > locate the drive letter.
On macOS, open Disk Utility to identify the external drive.
Step 3: Install Optional Tools
Seagate Toolkit (for drive management)
Third-party data erasure tools like DBAN (Windows), CCleaner, or Macrorit
Disk Utility (macOS, built-in)
Part 3: Wiping on Windows
Method 1: Windows Built-In Format with Overwrite
Open File Explorer.
Right-click on the Seagate external drive > Format.
Select NTFS or exFAT.
Uncheck Quick Format (forces full format, overwriting data).
Click Start.
Method 2: Command Prompt with Diskpart
Open Command Prompt as Administrator.
Type:
diskpart
list disk
select disk X (replace X with your Seagate drive)
clean all
exit
clean all securely erases the drive by writing zeros to the entire disk.
Method 3: Use Third-Party Wipe Software
DBAN (Darik’s Boot and Nuke): Create a bootable USB to run the tool.
Eraser: Windows app that can overwrite free space or entire volumes.
CCleaner: Includes a drive-wiping tool under the “Tools” tab.
Part 4: Wiping on macOS
Method 1: Disk Utility (Secure Erase)
Open Disk Utility.
Select the external Seagate drive.
Click Erase.
Choose a file format (APFS, HFS+, or exFAT).
Click Security Options (only available on HDDs, not SSDs):
Move the slider to increase security (1-pass to 7-pass overwrite).
Click Erase.
Method 2: Terminal with Diskutil
Open Terminal.
Find the disk:
diskutil list
Wipe with zero-fill:
diskutil secureErase 0 /dev/diskX
Replace diskX with the appropriate identifier.
Number represents:
0: Single-pass zero-fill
1: Random data
2: US DoD 7-pass standard
Part 7: After the Wipe
Step 1: Reformat the Drive (Optional)
If you plan to reuse the drive:
On Windows: Use File Explorer or Disk Management to format.
On macOS: Use Disk Utility.
Step 2: Recheck Drive Functionality
Confirm the wipe worked by checking the available space.
Try copying a file to test write permissions.
Step 3: Dispose or Store Safely
Recycling: Use certified e-waste centers.
Storage: Keep it in a dry, shock-proof container.
Part 8: Troubleshooting
Windows
Drive not detected: Try different USB ports or cables.
Diskpart access denied: Run Command Prompt as admin.
Disk is write-protected:
diskpart
list disk
select disk X
attributes disk clear readonly
macOS
Secure Erase option grayed out: Not available on SSDs.
Disk won’t unmount: Boot into Recovery Mode and try Disk Utility.
Part 9: Safety Tips for Secure Data Handling
Use encryption before wiping: Ensures that even incomplete wipes don’t expose data.
Keep drives labeled: Avoid wiping the wrong drive.
Use write-blockers: When handling sensitive investigations or forensics.
Always verify the wipe: Use recovery software to confirm data is unrecoverable.
About us and this blog
Panda Assistant is built on the latest data recovery algorithms, ensuring that no file is too damaged, too lost, or too corrupted to be recovered.
Request a free quote
We believe that data recovery shouldn’t be a daunting task. That’s why we’ve designed Panda Assistant to be as easy to use as it is powerful. With a few clicks, you can initiate a scan, preview recoverable files, and restore your data all within a matter of minutes.
Subscribe to our newsletter!
More from our blog
See all postsRecent Posts
- How to recover deleted voicemail samsung? 2025-04-22
- Samsung portable ssd t5 online recovery 2025-04-22
- Fix western digital external hard drive 2025-04-22

 Try lt Free
 Recovery success rate of up to


