Backing up data is essential in today’s digital age, where data loss can occur due to hardware failures, accidental deletions, or malware attacks. An external hard drive is a reliable option for creating backups, offering ample storage space and portability. However, before using it for backups, formatting the drive is crucial to ensure optimal performance and compatibility with your Windows system.
1. File Systems
What is a File System?
A file system is a method of organizing and storing files on a storage device. It defines how data is stored, accessed, and managed on the drive. The choice of file system can significantly impact the performance and usability of your external hard drive.
Common File Systems for Windows:
NTFS (New Technology File System): NTFS is the default file system for modern Windows operating systems. It supports large files and partitions, allows for file permissions, and provides better recovery options in case of failures. NTFS is ideal for external drives used for backups.
exFAT (Extended File Allocation Table): exFAT is optimized for flash drives and external hard drives. It offers compatibility across different operating systems, including Windows and macOS. exFAT supports larger file sizes than FAT32. making it suitable for video files and large backups.
FAT32 (File Allocation Table 32): While FAT32 is widely compatible, it has limitations, such as a maximum file size of 4GB. This makes it less suitable for backups of larger files. However, it may be a viable option for smaller files or for drives that need to be used with older systems.
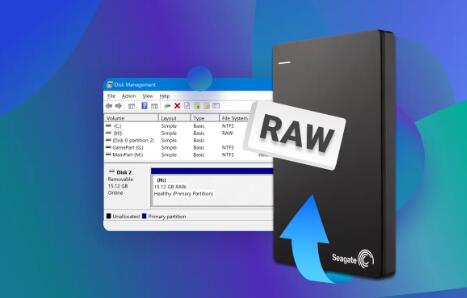
2. Preparing to Format Your External Hard Drive
Backup Important Data:
Before formatting your external hard drive, ensure that any important data currently on the drive is backed up elsewhere. Formatting will erase all existing data on the drive, so it’s vital to safeguard any files you want to keep.
Check Disk Space:
Assess the available space on the external hard drive. Ensure that it has enough capacity for the data you intend to back up. If the drive is significantly smaller than your backup needs, consider upgrading to a larger model.
Select the Right Tools:
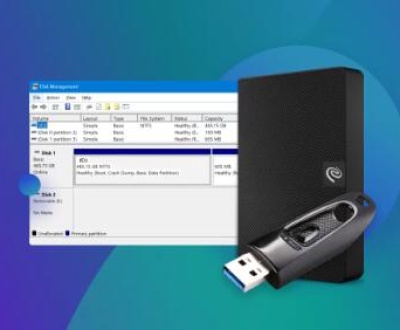
Windows provides built-in tools for formatting drives. You can use Disk Management or Command Prompt. Additionally, several third-party software options can offer more advanced features, such as easier partition management and additional file system options.
3. Step-by-Step Guide to Formatting
Using Windows Disk Management:
Open Disk Management:
Right-click the Start button and select ‘Disk Management.’
Identify the External Hard Drive:
Locate your external hard drive in the list. Ensure you select the correct drive to avoid accidental data loss.
Right-click the Drive:
Select ‘Format’ from the context menu.
Choose the File System:
For most users, NTFS is recommended for backups. If you plan to use the drive with macOS, consider exFAT.
Set Allocation Unit Size:
The default size is generally suitable. You can leave it as is unless you have specific requirements.
Label the Drive:
Enter a name for the drive to easily identify it later.
Complete the Format:
Click ‘OK’ to begin formatting. A warning will appear about data loss; confirm to proceed.
Using Command Prompt:
Open Command Prompt as Administrator:
Search for ‘cmd’ in the Start menu, right-click it, and select ‘Run as administrator.’
Enter diskpart:
Type diskpart and press Enter.
List Disks:
Type list disk to see all connected drives.
Select Your Drive:
Identify your external drive from the list (e.g., Disk 1) and type select disk X (replace X with the disk number).
Format the Drive:
Type format fs=ntfs quick (or use exfat for exFAT). This command will quickly format the drive.
Label the Drive:
You can set a label by typing label=YourDriveName.
Exit Diskpart:
Type exit to close the diskpart tool.
4. Post-Formatting Steps
Setting Up Backup Options:
After formatting, it’s time to configure backup options.
Use Windows Backup and Restore: Go to Control Panel > System and Security > Backup and Restore. Follow the prompts to set up your backup.
File History: Alternatively, you can use File History for more granular backups. Go to Settings > Update & Security > Backup to configure File History.
Schedule Automatic Backups: Set your backup schedule according to your needs—daily, weekly, or monthly—to ensure your data is consistently backed up.
Verifying the Format:
Once the format is complete, check that Windows recognizes the drive. Open File Explorer to ensure you can access the drive and that the file system appears as expected.
5. Troubleshooting Common Issues
Drive Not Recognized:
If your external hard drive isn’t recognized, try the following:
Check the connection (USB port/cable).
Try connecting to a different computer.
Verify that the drive is properly formatted.
Format Fails or Errors:
If formatting fails, ensure:
The drive is not write-protected.
You have administrative privileges.
The drive is not physically damaged.
Performance Issues:
To optimize performance after formatting:
Ensure the drive is defragmented regularly (if using NTFS).
Keep the drive free of unnecessary files.
Avoid filling the drive to its capacity.
About us and this blog
Panda Assistant is built on the latest data recovery algorithms, ensuring that no file is too damaged, too lost, or too corrupted to be recovered.
Request a free quote
We believe that data recovery shouldn’t be a daunting task. That’s why we’ve designed Panda Assistant to be as easy to use as it is powerful. With a few clicks, you can initiate a scan, preview recoverable files, and restore your data all within a matter of minutes.
Subscribe to our newsletter!
More from our blog
See all postsRecent Posts
- Downloads folder disappeared from finder 2025-04-28
- How to find root folder on usb 2025-04-28
- Where to find temp folder? 2025-04-28

 Try lt Free
 Recovery success rate of up to

