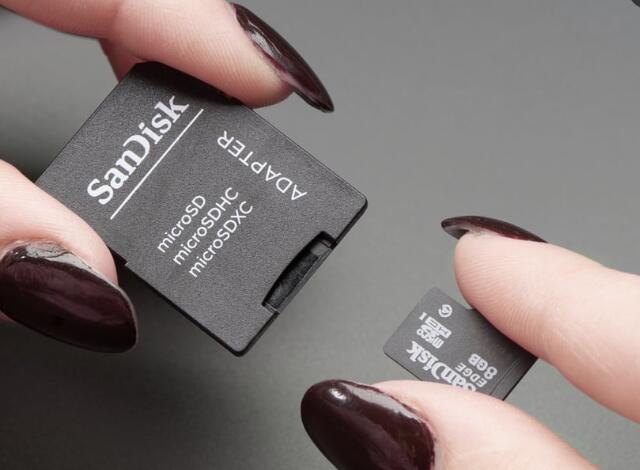
A recovery USB stick or SD card serves as an essential tool for data recovery and system restoration.
1. Recovery USB Sticks and SD Cards
A recovery USB stick is a portable storage device that can boot up a computer or restore files. An SD card serves a similar purpose, particularly in devices like cameras and mobile phones. While both serve as recovery media, USB sticks tend to be more versatile due to their broader compatibility with computers.
Recovery media is invaluable for various situations: you can use it to restore your system after a crash, recover lost files, or even reinstall your operating system. Understanding these devices’ roles will help you utilize them effectively.
2. Preparing Your Recovery Media
Choosing the Right USB Stick or SD Card Select a USB stick with a minimum of 16 GB of storage for basic recovery tasks. For extensive backups or system installations, consider 32 GB or more. Additionally, opt for a USB 3.0 stick for faster data transfer rates.

Formatting the USB Stick or SD Card Before using your USB stick or SD card for recovery, formatting it ensures it’s ready for use. Here’s how:
For Windows:
Insert your USB stick or SD card into your computer.
Open Disk Management by right-clicking on “This PC” and selecting “Manage.”
In the left pane, click “Disk Management.” Locate your USB drive, right-click, and select “Format.”
Choose NTFS or FAT32 as the file system and click “OK.”
For macOS:
Insert the USB stick or SD card.
Open Disk Utility from Applications > Utilities.
Select your drive, click on “Erase,” and choose a format (usually ExFAT or MS-DOS (FAT)).
Click “Erase” to format.
Creating a Bootable Recovery Drive To create a bootable recovery drive, you’ll need specific software:
Download Rufus or Windows Media Creation Tool.
Open the software and select your USB drive.
Choose the ISO file for Windows or your desired recovery OS.
Click “Start” to create the bootable drive.
3. Using Recovery Media for Data Recovery
Booting from the Recovery USB Stick or SD Card To utilize your recovery media, you may need to change your computer’s boot order. Restart your computer, enter the BIOS/UEFI settings (usually by pressing F2. F12. or Delete during boot), and set your USB stick as the primary boot device.
Once booted, you may see a recovery environment. Depending on the software you’re using, the interface may vary.
Using Recovery Tools After booting from your recovery media, you can use tools like TestDisk or PhotoRec to recover files. For example:
Open TestDisk.
Select your drive and choose “Analyze.”
Follow prompts to search for lost partitions and recover files.
4. Restoring Your System
System Restore vs. Full Reinstallation A system restore rolls back your operating system to a previous state without affecting personal files, while a full reinstallation wipes everything. Use system restore for minor issues and a full reinstall for significant problems.
Performing a System Restore To restore your system:
Boot from the recovery USB stick.
Choose “Repair your computer.”
Select “Troubleshoot” > “Advanced options” > “System Restore.”
Follow the prompts to select a restore point.
Reinstalling Your Operating System To reinstall Windows or macOS:
Boot from the recovery USB stick.
Choose “Install Windows” or “Install macOS.”
Follow the on-screen instructions, selecting your preferred options and partition.
5. Best Practices for Maintaining Recovery Media
Regularly update your recovery media, especially after major system changes or updates. It’s also wise to test your recovery media at least once a year to ensure it functions properly. Store your recovery media in a cool, dry place to avoid data corruption.
Having a reliable recovery USB stick or SD card can save you from the distress of data loss. By following this guide, you can create, use, and maintain your recovery media effectively, ensuring peace of mind in the digital age.
About us and this blog
Panda Assistant is built on the latest data recovery algorithms, ensuring that no file is too damaged, too lost, or too corrupted to be recovered.
Request a free quote
We believe that data recovery shouldn’t be a daunting task. That’s why we’ve designed Panda Assistant to be as easy to use as it is powerful. With a few clicks, you can initiate a scan, preview recoverable files, and restore your data all within a matter of minutes.
Subscribe to our newsletter!
More from our blog
See all postsRecent Posts
- Data recovery salt lake city utah 2025-04-18
- Data recovery sacramento 2025-04-18
- Data recovery miami 2025-04-18

 Try lt Free
 Recovery success rate of up to


