To export all tracks as audio files in Logic Pro, you’ll need to follow a series of steps that ensure you capture each track individually and export it in the desired format.
1. Preparing Your Project
Before you start exporting, make sure your project is ready:
Organize Tracks: Ensure all your tracks are properly named and organized. This helps in keeping track of everything during export.
Check Levels and Effects: Make sure the levels on each track are balanced, and any effects or plugins are set as you want them. If you have effects on the master track that you don’t want in the exported files, make sure to bypass them.
Set Locators: Define the start and end points of your project by setting the locators. This will determine the length of the export.
Locate the Cycle Area: Drag the cycle area in the ruler at the top of the workspace to cover the entire project or the section you want to export.

2. Exporting Tracks
To export individual tracks, you’ll use the “Export All Tracks as Audio Files” feature:
Open the Bounce Dialog:
Go to the File menu and select Export.
From the submenu, choose All Tracks as Audio Files.
Configure Export Settings:
Destination: Choose the location where you want to save the files.
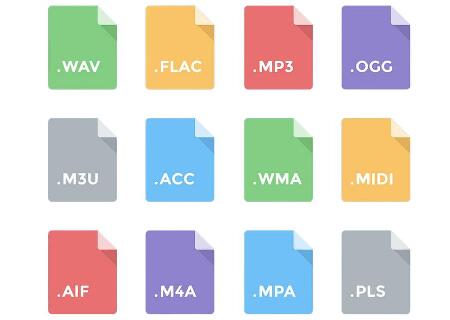
File Type: Select the audio format you want for the exported files (e.g., WAV, AIFF, MP3).
Bit Depth and Sample Rate: Set the bit depth and sample rate according to your needs. Generally, 24-bit and 44.1 kHz are standard for high-quality audio.
Include Volume/Pan Automation: Decide whether you want to include volume and pan automation in the exported files. If your tracks have automation that you want to preserve, make sure this option is checked.
Normalize: Choose whether you want to normalize the audio. Normalization adjusts the audio levels so that the loudest peak reaches a specified level. For individual tracks, this is often unnecessary.
Export:
Click Export to start the process. Logic Pro will render each track and save them as separate audio files in the destination folder you selected.
3. Post-Export Steps
Verify Files: Check the exported files to ensure they match your expectations in terms of quality and content.
Organize Files: If necessary, organize the exported files in your preferred directory structure, which may include creating folders for different projects or versions.
Backup: Always make a backup of your exported files to prevent data loss.
4. Troubleshooting
If you encounter issues during the export process:
Check Track Settings: Ensure no tracks are muted or soloed incorrectly unless intended.
Disk Space: Make sure you have enough disk space available in the destination folder.
Software Updates: Ensure that you are using the latest version of Logic Pro, as updates may fix bugs or improve functionality.
Audio Engine: If the export process is unusually slow or fails, try restarting Logic Pro or your computer, and ensure no other intensive processes are running.
5. Additional Tips
Batch Exporting: For large projects, consider exporting in batches or sections to make the process more manageable.
Naming Conventions: Use clear and consistent naming conventions for your exported files to make them easier to identify later.
Quality Control: Listen to a few of the exported files to ensure they sound as expected before moving on to the next project.
By following these steps, you can efficiently export all tracks as audio files from Logic Pro, ensuring a smooth and organized workflow for your audio projects.
About us and this blog
Panda Assistant is built on the latest data recovery algorithms, ensuring that no file is too damaged, too lost, or too corrupted to be recovered.
Request a free quote
We believe that data recovery shouldn’t be a daunting task. That’s why we’ve designed Panda Assistant to be as easy to use as it is powerful. With a few clicks, you can initiate a scan, preview recoverable files, and restore your data all within a matter of minutes.
Subscribe to our newsletter!
More from our blog
See all postsRecent Posts
- Data recovery salt lake city utah 2025-04-18
- Data recovery sacramento 2025-04-18
- Data recovery miami 2025-04-18

 Try lt Free
 Recovery success rate of up to


