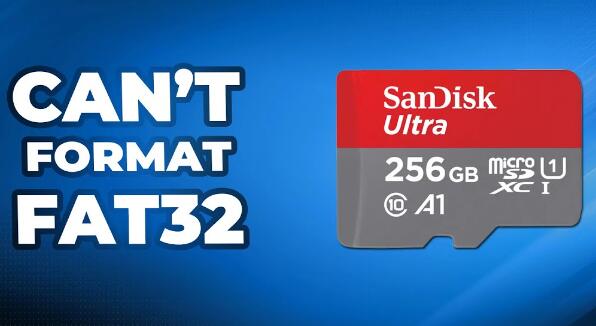
FAT32. or File Allocation Table 32. is a file system format that is widely used for SD cards, USB drives, and other storage devices. It is compatible with almost all operating systems and devices, making it a versatile choice. However, it has some limitations, such as a maximum file size of 4GB and a maximum partition size of 32GB. Despite these limitations, FAT32 remains a popular choice due to its broad compatibility.
Steps to Format an SD Card to FAT32 on Different Platforms
On Windows
Using File Explorer:
Insert the SD card into your computer’s SD card slot or connect it via an SD card reader.
Open File Explorer and locate your SD card in the list of drives.
Right-click on the SD card and select “Format.”
In the Format window, select “FAT32” as the file system.
Ensure that the “Quick Format” option is checked for a faster process.
Click “Start” to begin formatting. A warning message will appear indicating that all data will be erased. Confirm to proceed.

Using Disk Management:
Press Win + X and select “Disk Management.”
Locate your SD card in the list of drives.
Right-click on the SD card partition and select “Format.”
Choose “FAT32” as the file system and click “OK” to start formatting.
Using Command Prompt:
Press Win + X and select “Command Prompt (Admin).”
Type diskpart and press Enter.
Type list disk to display all connected drives.
Identify your SD card and note its disk number.
Type select disk X (replace X with your SD card’s disk number) and press Enter.
Type clean to remove all partitions and data.
Type create partition primary to create a new partition.
Type format fs=fat32 quick to format the partition to FAT32.
On Mac
Using Disk Utility:
Insert the SD card into your Mac’s SD card slot or connect it via an SD card reader.
Open Disk Utility (found in Applications > Utilities).
Select your SD card from the list of drives on the left.
Click the “Erase” button.
In the format menu, select “MS-DOS (FAT)” which is equivalent to FAT32.
Click “Erase” to begin formatting.
On Mobile Devices (Android)
Using an App:
Download a file manager or SD card formatter app from the Google Play Store (e.g., “SD Card Formatter”).
Open the app and follow the instructions to format your SD card to FAT32.
On Linux
Using GParted:
Install GParted via your package manager if it’s not already installed.
Open GParted and locate your SD card in the list of drives.
Select your SD card and choose “Format to” > “fat32.”
Apply the changes to format the SD card.
Troubleshooting Common Issues
1. SD Card is Write-Protected
If your SD card is write-protected, you won’t be able to format it. To disable write protection:
Check for a physical switch on the side of the SD card and ensure it is in the “unlock” position.
If there is no switch or it’s already unlocked, you might need to use Diskpart on Windows to clear the write protection:
Open Command Prompt as an administrator.
Type diskpart and press Enter.
Type list disk and press Enter.
Select your SD card with select disk X (replace X with your SD card’s disk number).
Type attributes disk clear readonly and press Enter.
2. SD Card Not Recognized
If your SD card is not recognized by your computer:
Ensure the SD card is properly inserted.
Try using a different card reader or USB port.
Check for driver updates for your card reader.
Test the SD card on another device to rule out a faulty card.
3. Unable to Format Larger SD Cards to FAT32
Windows’ built-in tools don’t allow formatting drives larger than 32GB to FAT32. To format larger SD cards:
Use a third-party tool:
Download and install a tool like “Rufus” or “FAT32 Format.”
Open the tool, select your SD card, and choose FAT32 as the file system.
Click “Start” to format the SD card.
Use Command Prompt:
Open Command Prompt as an administrator.
Use diskpart to clean and create a new partition.
Use a command like format X: /FS:FAT32 (replace X with your SD card’s drive letter) to format the partition to FAT32.
4. SD Card Is Corrupted or Damaged
If your SD card is corrupted or damaged, formatting might fail. To attempt recovery:
Windows:
Use the built-in “Check Disk” tool by right-clicking on the SD card, selecting “Properties,” going to the “Tools” tab, and clicking “Check.”
Mac:
Use Disk Utility’s “First Aid” feature to check and repair the SD card.
Linux:
Use fsck command in the terminal to check and repair the SD card:
Open a terminal.
Type sudo fsck /dev/sdX (replace X with your SD card’s identifier) and press Enter.
Alternative Solutions
1. Using exFAT
If FAT32 limitations are problematic, consider using exFAT, which supports larger file sizes and partitions:
Follow the same formatting steps as above but choose “exFAT” instead of FAT32.
2. Using Other File Systems
For specific use cases, other file systems like NTFS or ext4 might be more suitable:
Ensure the target device supports the chosen file system.
Follow the appropriate steps to format the SD card to the desired file system.
About us and this blog
Panda Assistant is built on the latest data recovery algorithms, ensuring that no file is too damaged, too lost, or too corrupted to be recovered.
Request a free quote
We believe that data recovery shouldn’t be a daunting task. That’s why we’ve designed Panda Assistant to be as easy to use as it is powerful. With a few clicks, you can initiate a scan, preview recoverable files, and restore your data all within a matter of minutes.
Subscribe to our newsletter!
More from our blog
See all postsRecent Posts
- Hard drive recovery denver reddit 2025-02-28
- How to recover a deleted slide in powerpoint? 2025-02-27
- How to recover deleted capcut videos? 2025-02-27


