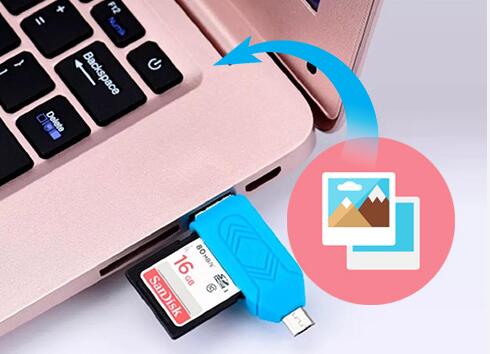
Transferring data from an SD card to a USB drive is a straightforward process, but it’s crucial to ensure that you handle your data correctly to avoid corruption or loss.
1. Preparation
1.1 Gather Your Tools
SD Card: Ensure it’s properly inserted into your device and is functioning.
USB Drive: Make sure it has enough storage capacity to hold all the data from your SD card.
Card Reader: If your computer doesn’t have an SD card slot, you’ll need a card reader compatible with your SD card type.
Computer: This guide assumes you’re using a computer with a working operating system.

1.2 Backup Important Data Before transferring, it’s a good idea to back up important data from your SD card and USB drive to avoid any accidental loss.
2. Insert the SD Card
2.1 Direct Slot
For Computers with an SD Slot: Insert the SD card into the SD card slot on your computer. Make sure it’s oriented correctly.
2.2 Using a Card Reader
For Computers without an SD Slot: Connect the card reader to a USB port on your computer. Insert the SD card into the card reader.
3. Prepare the USB Drive
3.1 Connect the USB Drive
Insert the USB drive into an available USB port on your computer.
3.2 Check the USB Drive
Ensure the USB drive is detected by your computer. You may need to format it if it’s new or has an incompatible file system. Caution: Formatting will erase all data on the USB drive.
4. Transfer Data
4.1 Access the SD Card
Windows: Open File Explorer and find your SD card listed under “This PC” or “My Computer.”
Mac: Open Finder and locate your SD card under “Locations” in the sidebar.
4.2 Access the USB Drive
Windows: Open File Explorer and find your USB drive listed under “This PC” or “My Computer.”
Mac: Open Finder and locate your USB drive under “Locations” in the sidebar.
4.3 Copy Files
Select Files: Navigate to the files or folders on your SD card that you wish to transfer. You can select individual files or entire folders.
Copy Files: Right-click on the selected files and choose “Copy” from the context menu. Alternatively, you can use the keyboard shortcut Ctrl + C (Windows) or Command + C (Mac).
4.4 Paste Files
Navigate to the location on your USB drive where you want to store the files.
Paste Files: Right-click in the destination folder and select “Paste” from the context menu. Alternatively, you can use the keyboard shortcut Ctrl + V (Windows) or Command + V (Mac).
5. Verify Transfer
5.1 Check File Integrity
After copying, ensure that all files have been transferred successfully. You can compare the number of files and folders on the SD card with those on the USB drive.
5.2 Open Files
Open a few files from the USB drive to confirm that they are not corrupted and are functioning as expected.
6. Eject Devices Safely
6.1 Eject the USB Drive
Windows: Right-click on the USB drive icon in File Explorer and select “Eject.”
Mac: Drag the USB drive icon to the Trash, which will change to an Eject icon.
6.2 Eject the SD Card
Windows: Right-click on the SD card icon in File Explorer and select “Eject.”
Mac: Drag the SD card icon to the Trash.
7. Troubleshooting
7.1 SD Card Not Detected
Ensure the SD card is properly inserted. Try using a different card reader or USB port.
Check if the SD card is locked (some SD cards have a physical lock switch).
7.2 USB Drive Not Detected
Try connecting the USB drive to a different USB port or computer.
Verify that the USB drive is functioning by testing it with another device.
7.3 Transfer Errors
Ensure there is sufficient space on the USB drive.
Check for any file system errors on both the SD card and USB drive.
8. Advanced Tips
8.1 Using Backup Software For a more automated process, you can use backup software to transfer data from your SD card to your USB drive. This can be particularly useful for large amounts of data.
8.2 Encrypting Data If the data is sensitive, consider encrypting files before transferring. This adds a layer of security to protect your information.
8.3 Regular Backups Regularly back up your data to multiple locations to prevent data loss.
About us and this blog
Panda Assistant is built on the latest data recovery algorithms, ensuring that no file is too damaged, too lost, or too corrupted to be recovered.
Request a free quote
We believe that data recovery shouldn’t be a daunting task. That’s why we’ve designed Panda Assistant to be as easy to use as it is powerful. With a few clicks, you can initiate a scan, preview recoverable files, and restore your data all within a matter of minutes.

 Try lt Free
 Recovery success rate of up to


